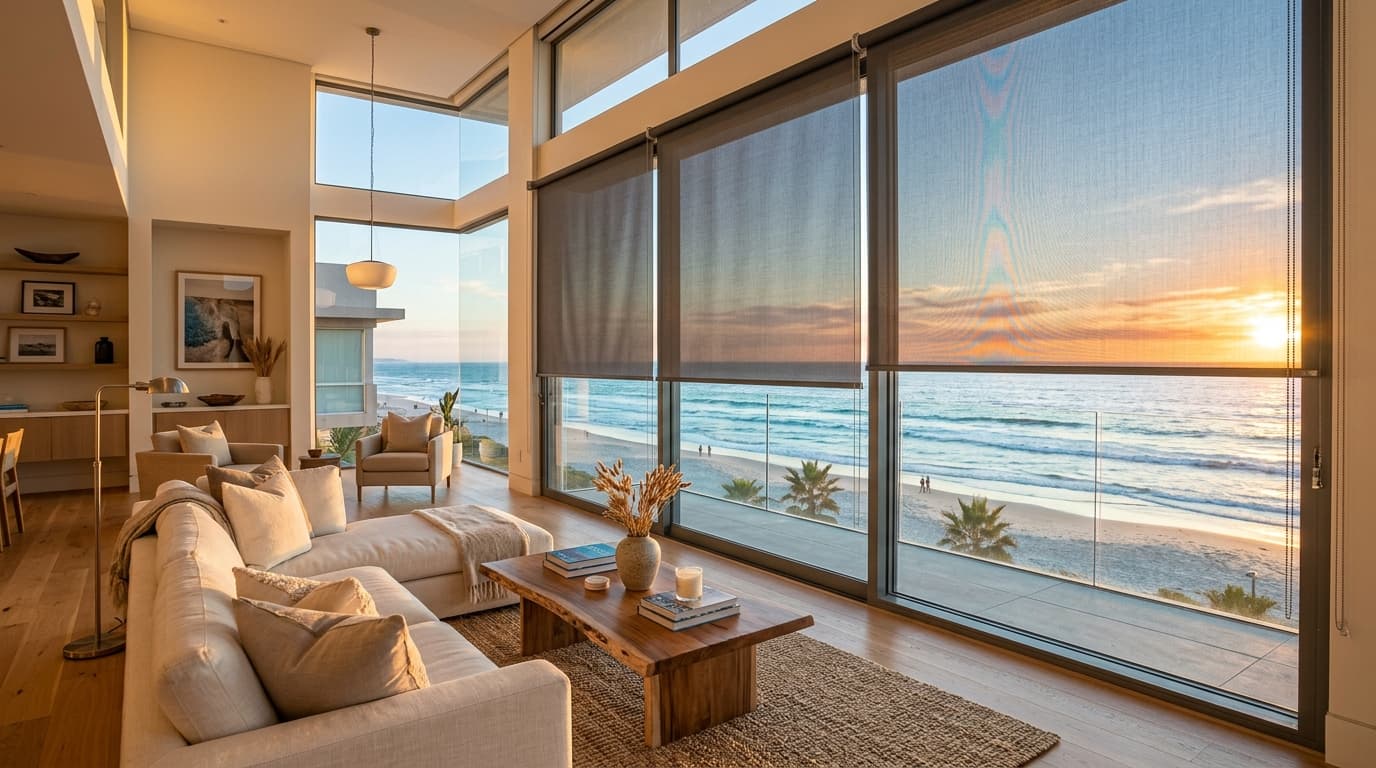
Dressing your windows with custom blinds is one of the best decisions you can make to modernize your home, regulate light entry, and improve thermal insulation. However, before choosing the ideal fabric or color, there is a technical step that generates many doubts: knowing how to measure blinds accurately. An error of just a couple of centimeters in the dimensions can cause the blind to rub against a handle, not cover the entire glass, or not fit in the available space.
Don't worry: measuring your windows is a simple process that you can do yourself with complete guarantee if you follow the correct steps. In this complete guide, we will teach you in detail how to measure blinds step by step, taking into account the morphology of each window, the different types of installation, and those common obstacles in any home, such as roller shutter boxes, radiators, or handles.
1. Preparations: What do you need before starting to measure?
To obtain reliable and accurate measurements, it is essential to have the right tools and follow basic quality control guidelines:
- Use a metal measuring tape (tape measure): Avoid seamstress or plastic tapes at all costs, as they can bend or stretch easily, introducing unwanted measurement errors.
- Always measure in full millimeters or centimeters: Do not round up or down approximately. Every millimeter counts for the mechanisms to fit perfectly.
- Write down the measurements with a clear structure: Always write the width first and then the height (Width x Height). It is the standard used by manufacturers of roller blinds.
- Take measurements at multiple points: Walls and window frames are not always perfectly symmetrical or completely straight. Checking the dimensions at three different points will save you unpleasant surprises.
2. How to measure blinds according to the type of installation
The way of measuring will vary significantly depending on where you decide to install the blind: if it is placed on a clear wall, anchored directly to the ceiling, or fitted into a space delimited between two walls.
Wall or ceiling installation with free space on the sides
This is the most common installation and the one that offers the greatest aesthetic margin of error. As there are no walls or lateral obstacles that delimit the size of the blind, we can give it an extra margin to ensure an elegant coverage that completely covers the window frame and prevents light leaks from the sides.
How to calculate the width:
- Measure the total width of the window including the outer frame.
- Add at least 10 centimeters on each side (a total of 20 additional centimeters). This guarantees that the fabric covers the window loosely and oblique light does not leak.
- Example: If your window measures 120 cm wide from frame to frame, the ideal width of your custom blind will be 140 cm.
Installation fitted between two walls (wall to wall)
When the window is fitted into a narrow space limited by walls on both sides, we must be extremely precise, as the blind must fit exactly in that space without rubbing against the sides.
How to calculate the width:
- Measure the width of the gap at three different points: the top (where the bracket will be installed), the middle, and the bottom.
- Take the smallest measurement of the three. This way, we make sure that the blind will not trip over any area of the path if the walls have any imperfection.
- Subtract between 1.5 and 2 centimeters from that total safety measurement. This clearance is essential to house the brackets and allow the blind tube to rotate freely.
- Example: If the narrowest width measured in the gap is 100 cm, the width of the blind you should order will be 98 cm.
3. How to measure blinds avoiding common obstacles
In the real world, windows are rarely on completely flat and clear walls. Constructive or ornamental elements of the room can hinder the natural descent of the blind. Below we detail how to solve these scenarios:
Window handles or tilt-and-turn systems
Handles protruding from the frame are the main enemy of roller blinds, as they can trip over the fabric when going down and damage it or prevent its path.
- Cascade fall option (outer roll): Request that the fabric falls from the front of the tube instead of from the back (inner roll). This naturally moves the fabric about 5 cm away from the wall.
- Extended brackets or squares: If the cascade roll is not enough, you must use extension squares on the wall or extra long brackets that separate the mechanism the necessary space to avoid the handle.
- Ceiling installation: If you install the blind to the ceiling, you can place the brackets at the exact distance from the wall you want, leaving the handle free from rubbing without the need for extra accessories.
Roller shutter boxes (drums)
If your window has a roller shutter box that protrudes into the room, it will limit the installation space and the fall of the fabric.
- Installation above the box: If there is enough space between the box and the ceiling, you can install the blind just above the roller shutter box.
- Ceiling installation avoiding the box: As with handles, ceiling installation allows you to bring the brackets forward so that the blind falls in front of the roller shutter box without rubbing it.
- Long brackets: If you cannot install it to the ceiling, use wall brackets that exceed the depth of the roller shutter box.
Radiators and wall protrusions
Radiators are usually located under windows and protrude considerably from the wall. To prevent the blind from resting on them when fully deployed:
- Measure how much the radiator protrudes with respect to the wall.
- Choose a ceiling bracket or a wall bracket whose length exceeds that measurement by at least 2 centimeters of safety margin.
- Alternatively, if the radiator is very low, you can program the height of the blind so that it ends just a couple of centimeters above the appliance, avoiding touching it.
4. How to measure blinds according to the type of window
The opening mechanics of your windows determine the type of blind and the optimal way to measure it:
Sliding windows
They are the easiest to manage, as the sashes slide on rails and never invade the interior space of the room. You can measure the blind with total freedom of installation (to the wall or ceiling) knowing that you will be able to open and close the windows regardless of whether the blind is up or down.
Casement or tilt-and-turn windows
These windows open into the home. This means that if the blind is down, you will not be able to open the window without gathering it first. To prevent the blind from hindering passage or opening:
- Upper gathering space: Make sure there are at least 15-20 centimeters of free space between the upper frame of the window and the ceiling. It is the space that the blind will occupy when it is fully rolled up. If you do not have this gap, the window cannot be fully opened unless you remove the blind.
- Blinds without drilling (Easy Fix): If you are looking for a solution without drilling the wall and that allows opening the window together with the blind, consider the models that anchor directly to the window sash. To measure them, you must calculate only the size of the glass plus a small margin for the side beads.
Corner windows
When two windows form a 90-degree angle in a corner of the room, the mechanisms of the two blinds will clash if we do not make an adjustment in the measurements:
- Decide which of the two blinds will reach the same corner (main blind). Measure it conventionally by adding the corresponding margins.
- For the second blind (which will hit the side of the first), measure the total width available up to the corner and subtract the depth of the mechanism of the first blind (generally between 6 and 8 centimeters, depending on the tube and the bracket used).
5. How to calculate the correct height of the blind
Defining the vertical length of the blind is vital so that the fabric covers the entire window and is aesthetically balanced:
If the installation is to the wall
Measure the height of the window frame. Add between 15 and 20 centimeters at the top (space for the brackets) and another 15 or 20 centimeters below the lower frame (to cover the sill and avoid light gaps).
If the installation is to the ceiling
Measure from the ceiling to the bottom point where you want the blind to end. If there is a shelf or obstacle underneath, subtract 1-2 cm. If you want it to fall freely below the window, add 15 or 20 cm from the lower limit of the frame. If the blind reaches the floor, measure from the ceiling to the floor and subtract 2 cm so that the fabric does not drag or get dirty.
6. Table of recommended margins and tolerances
As a quick summary, here is a reference table with the clearance and addition margins recommended by professional installers:
| Type of Scenario | Width Adjustment | Height Adjustment | Key Recommendation |
|---|---|---|---|
| Clear wall | +10 cm on each side (+20 cm total) | +15 or 20 cm top and bottom | Provides the most aesthetic visual coverage and better blocks side light. |
| Between walls | Subtract 1.5 or 2 cm from smallest measurement | Exact measurement of the gap | Essential to measure at 3 different heights to avoid wall misalignments. |
| With handle / shutter | Same as clear wall | Same as clear wall | Install to the ceiling or use 10-15 cm wall spacer brackets. |
| Floor-length window | +10 cm on each side or gap measurement | Subtract 2 cm from total to floor | Prevents the counterweight from hitting the floor hard or accumulating unnecessary dirt. |
Summary: Your peace of mind begins with a correct measurement
Learning how to measure blinds is the foundation of any window decoration project. Taking your time, double-checking the measurements, and applying the tolerances we have detailed in this guide, you will get your blinds to look exactly as you imagined them. Always remember to plan the placement of the mechanism beforehand to avoid common obstacles and choose the right type of bracket for your needs.
Prefer a professional installer to measure for you?
If your windows have complex shapes, you have very high ceilings, or simply prefer the total peace of mind of a risk-free millimeter fit, at Estores Alicante we take care of everything. We perform free home measurements throughout the province of Alicante, showing you catalogs of real fabrics in your own home.
Get a guaranteed perfect fit
Avoid risks and let our team measure your windows for free at your home in Alicante.